How to successfully compress images for your website and get your speed back
Go small or go home.
There it is, the gorgeous hero image that’s perfect for your website. Bathe in its glory. It’s so beautiful, you just want to jump inside it. Your visitors will probably love it, too, and they’ll love you for putting it up there. You’ll look like a pro. Except that…
…it took 30 seconds to load, so your visitors are already clicking away to other places before they even have a chance to experience your brilliance.
Uploading a 20 MB photo to your website is not what we in the web design world would call “best practice.” In fact, it’s downright reckless. With today’s blazing fast internet speeds you can download a 20 MB file in a few seconds. That doesn’t mean your website will serve it up as quickly. Those moments between someone clicking a link to your site and the site actually loading are precious. We are not as patient as we were in 1996, where 10 seconds on a dial-up modem would have been acceptable. These days, most people expect a page to load and start showing content in 3-4 seconds. That means your image file sizes need to be as tiny as possible.
You don’t have to sacrifice quality for size
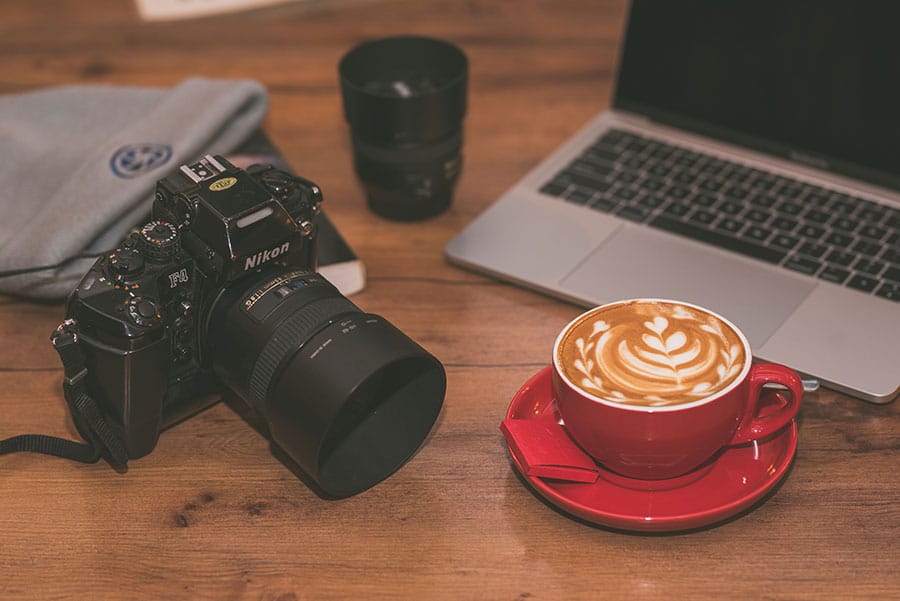
The good news is that you can get your image file size down pretty low without sacrificing quality. For example, the photo I used at the top of this post is a high resolution image I downloaded from Unsplash.com at 2.7 MB. Viewing it in Photoshop at 100%, I can see the tiniest little bubbles in the top of the latte (mmmm, latte). For the purposes of this post, no one needs to see that kind of detail. They just need to see that it’s a high quality photo of a laptop and camera. Tip: always use high quality photos on your site. So I’m going to lose some of that detail when I compress it. But I can let that go, because the overall image quality at the size it needs to be presented will still be great.
How to reduce your image size
The width of the original JPEG image is about 6000 pixels. The largest anyone needs to see this image on my site (because I decided) is 900 pixels wide. Reducing the size alone, without any other compression, brought it down to 373 kb. That’s pretty good, but we can do better. In Photoshop, if I choose File>Export>Save for Web (Legacy), I can choose the file size and image quality I want.

I was able to get the file size down to 90 kb and still keep a high quality image. That’s a great size for a website to serve up.
What to do when you don’t have Photoshop
I have Photoshop because I’ve been doing freelance design and website work for years. Don’t feel that you have to invest in an Adobe Creative Cloud subscription, just to maintain your website. There are free tools out there to help you accomplish the same thing.
The first is GNU Image Manipulation Program, a free and open-source image-editing tool. There are versions for Windows, Mac and GNU/Linux systems. Check it out, it’s pretty amazing.
Another option is TinyJPG.com. It’s also free and all you have to do is drag your image onto the site and it does all the compressing work for you. I used the original 2.7 MB image above and got it down to 740 kb. Not perfect, but better.
The bigger the *not* better
If there’s anything to take away for this post, it’s that huge images have no place on your website. The smaller you can get your file sizes, the faster your website will run. The faster your website runs, the better chance that visitors will stick around for your content.
Questions? Comments? Hit me up! Paste your comment below.
Leave a Reply